Angles of Death KillTeam Guide by Will York
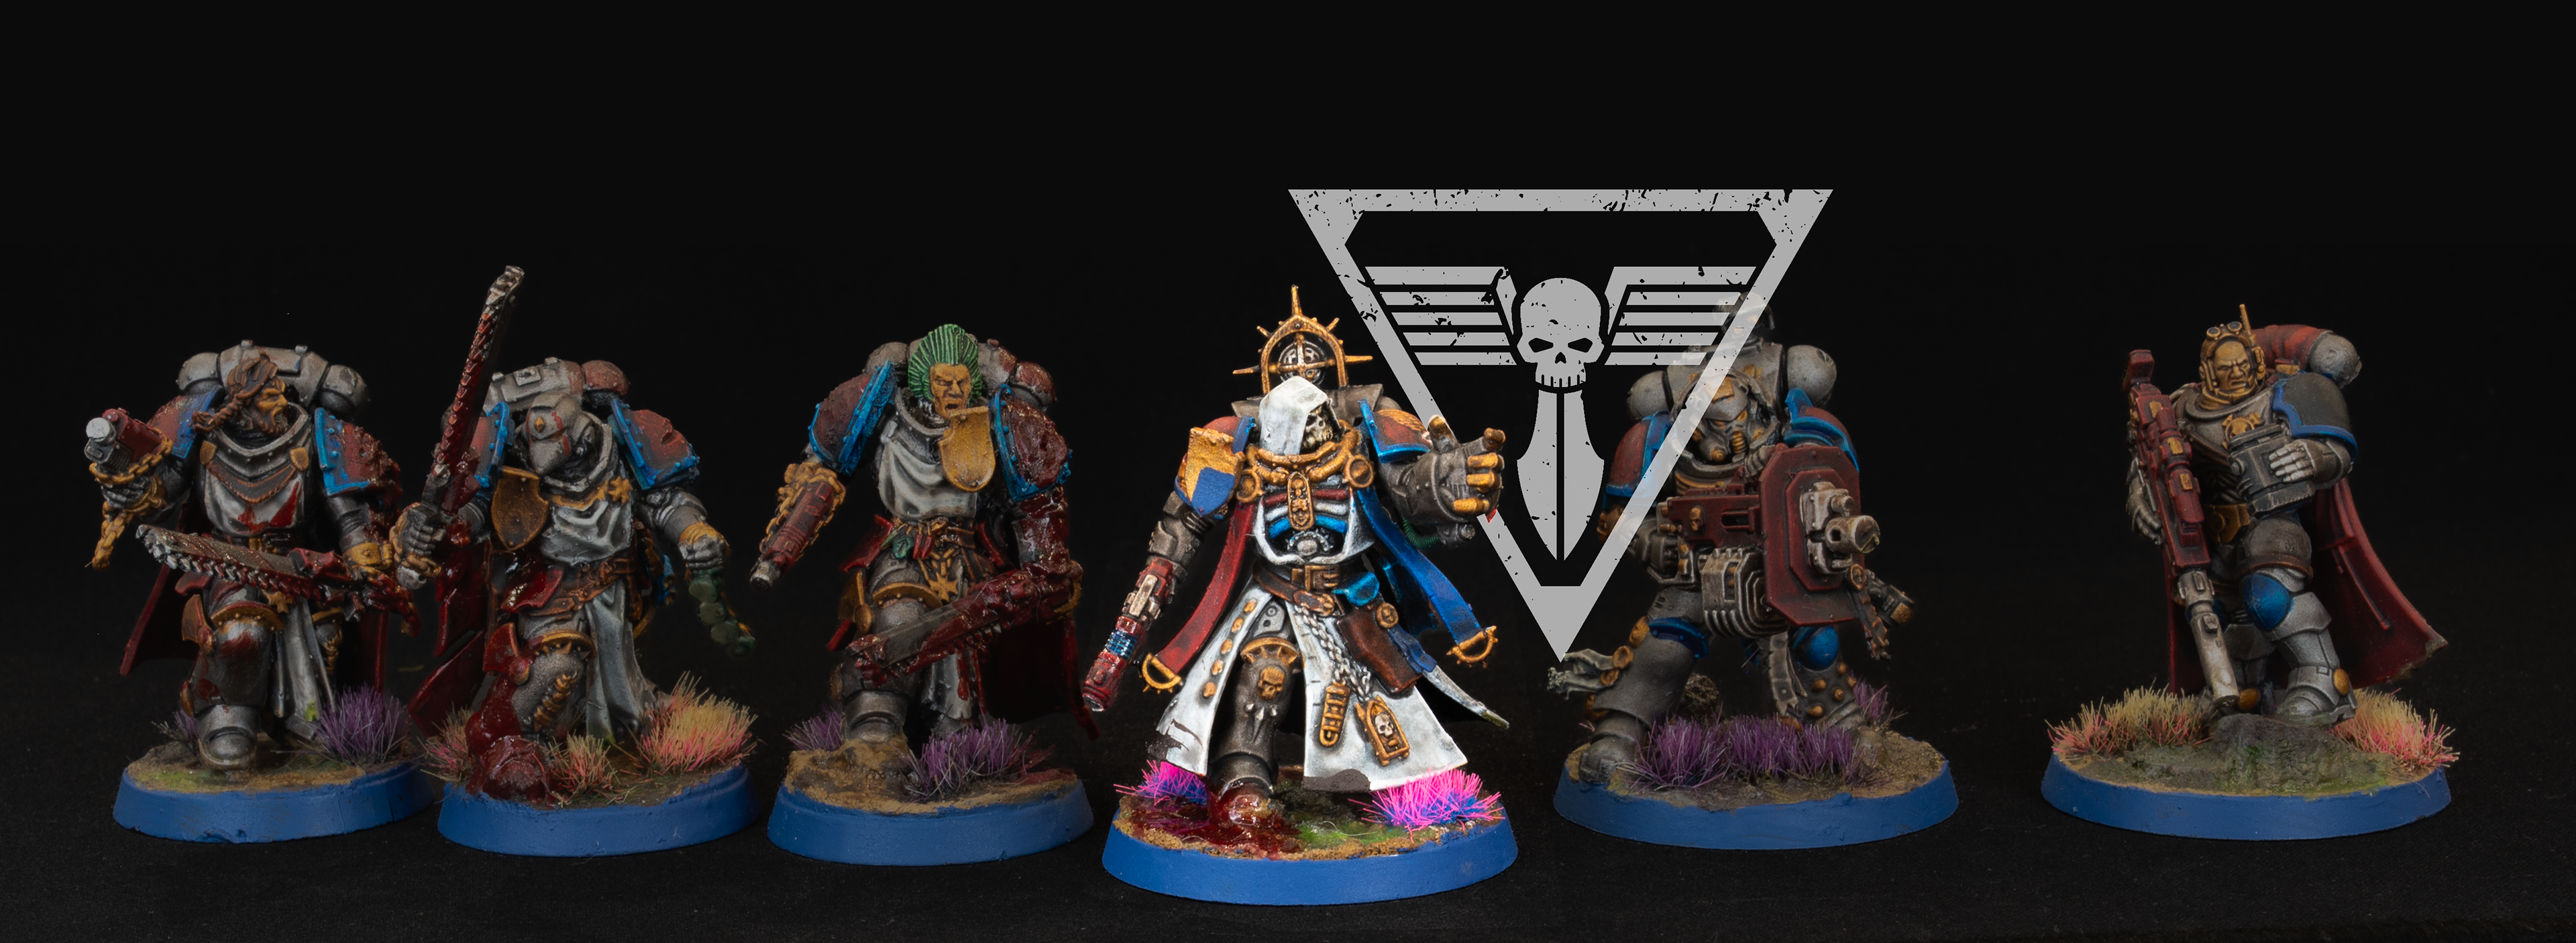
Introduction
Whether you’re a brand-new player starting your very first Kill Team with a collection of old, unused Space Marines inherited from a buddy, or an experienced veteran looking for the next on- or off-meta Marine choice to dominate your local scene, you’re in the right place.
This guide is designed for everyone in between. The goal is to provide insight into the strengths and weaknesses of Angles of Death (AoD), both on the tabletop and in the hobby, while providing useful tricks and advice to make collecting and playing AoD an absolute joy for all types of players.
Hobby & Getting Started
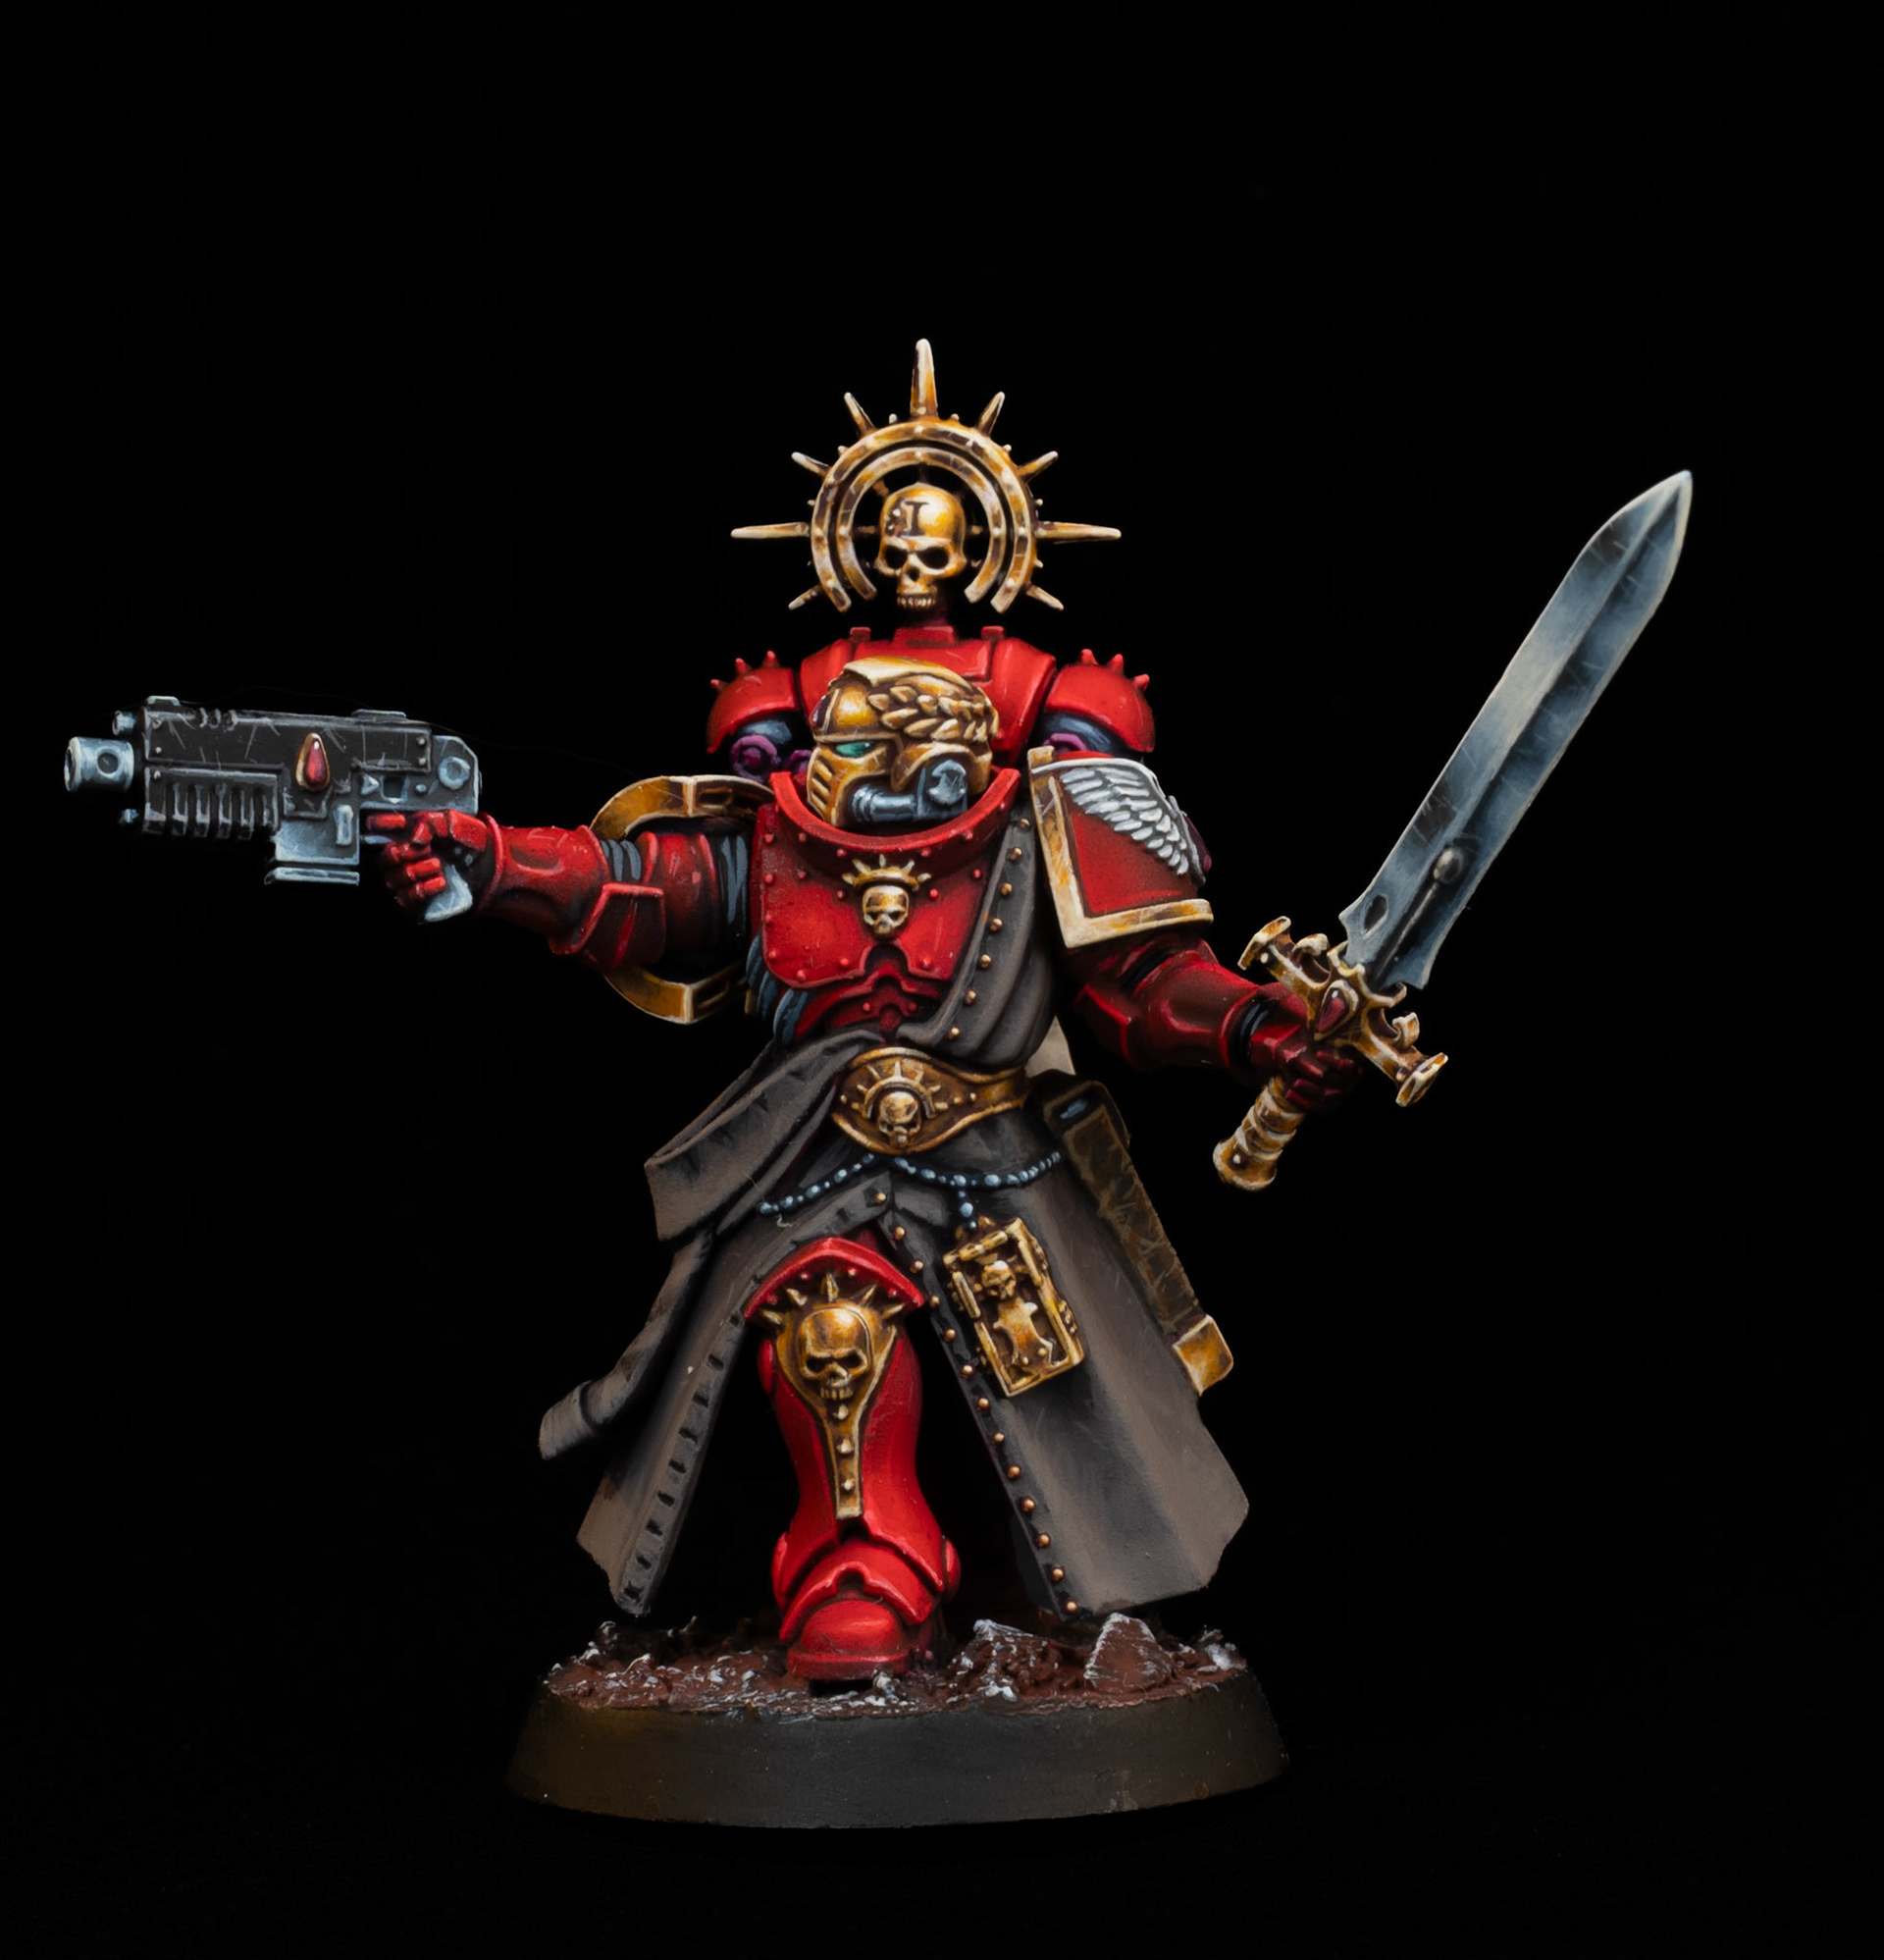
Let’s start by understanding what Angles of Death is as a Kill Team faction. Throughout this guide, I’ll simply refer to them as AoD.
AoD is a six-model Space Marine Kill Team that uses Primaris-scale models to make up its roster. The bulk of the team is built around the Intercessor and Assault Intercessor kits.
Starting Your AoD Team
One of the best ways to start an AoD team is by picking up the Kill Team Starter Set. It comes with a Captain, Eliminator, Heavy Gunner, and several different Space Marine models. While the starter set itself doesn’t offer a huge amount of value in terms of terrain, it does come with a second Kill Team—the Plague Marines—as well as the various tokens and other accessories you’ll need to get started.
From there, I recommend picking up another box of Assault Intercessors. This gives you additional options and much-needed roster depth as you start playing more games and experimenting with different builds.
The Ideal Collection
In a perfect world, you’ll eventually want access to the following models:
- Captain
- Assault Intercessor Sergeant with Power Sword and Bolt Pistol
- Intercessor Sergeant with Power Sword and Bolt Rifle
- Heavy Gunner
- Eliminator
- Assault Intercessor Grenadier
- Intercessor Grenadier with Bolt Rifle
- Four Assault Intercessors
- Four Bolt Rifle Intercessors
Once you have all of these models, you should have essentially every option you’ll ever need for your AoD Kill Team.
The added benefit is that these models can easily transition into a larger Warhammer 40,000 Space Marine army, giving the collection value beyond Kill Team.
Building and Customizing Your Marines
One final note when it comes to hobbying with AoD: the most important thing to keep in mind is that you are using Primaris-scale Space Marines for this project.
The Space Marines of yesteryear—including most of the older Loyalist and Chaos Space Marine kits—are noticeably smaller and generally won’t work as well for an AoD team. However, as long as you’re working with Primaris-scale kits, there is a huge amount of freedom when it comes to customization. Weapon options aside, almost any Primaris-scale Space Marine kit can be used to create a unique AoD team.
During my own journey with this team, I’ve used Black Templars, Dark Angels, and Space Wolves kits to build three completely different AoD teams. The Assault Intercessor and Sternguard kits are particularly useful if you want models with more dynamic, action-oriented poses.
With a little bit of work, it’s also surprisingly easy to convert models from these kits. For example, you can take a model that looks like it’s charging forward and equip it with a bolt rifle, creating the appearance of a Marine sprinting into battle.
Another major advantage is that Primaris bits, for the most part, fit together extremely well. This gives you a ton of freedom to mix and match armor, weapons, heads, shoulder pads, and other accessories from different kits.
So get out there, experiment, and build yourself a Kill Team that looks as deadly as it plays!
Strengths of the Team & How Do They Play?
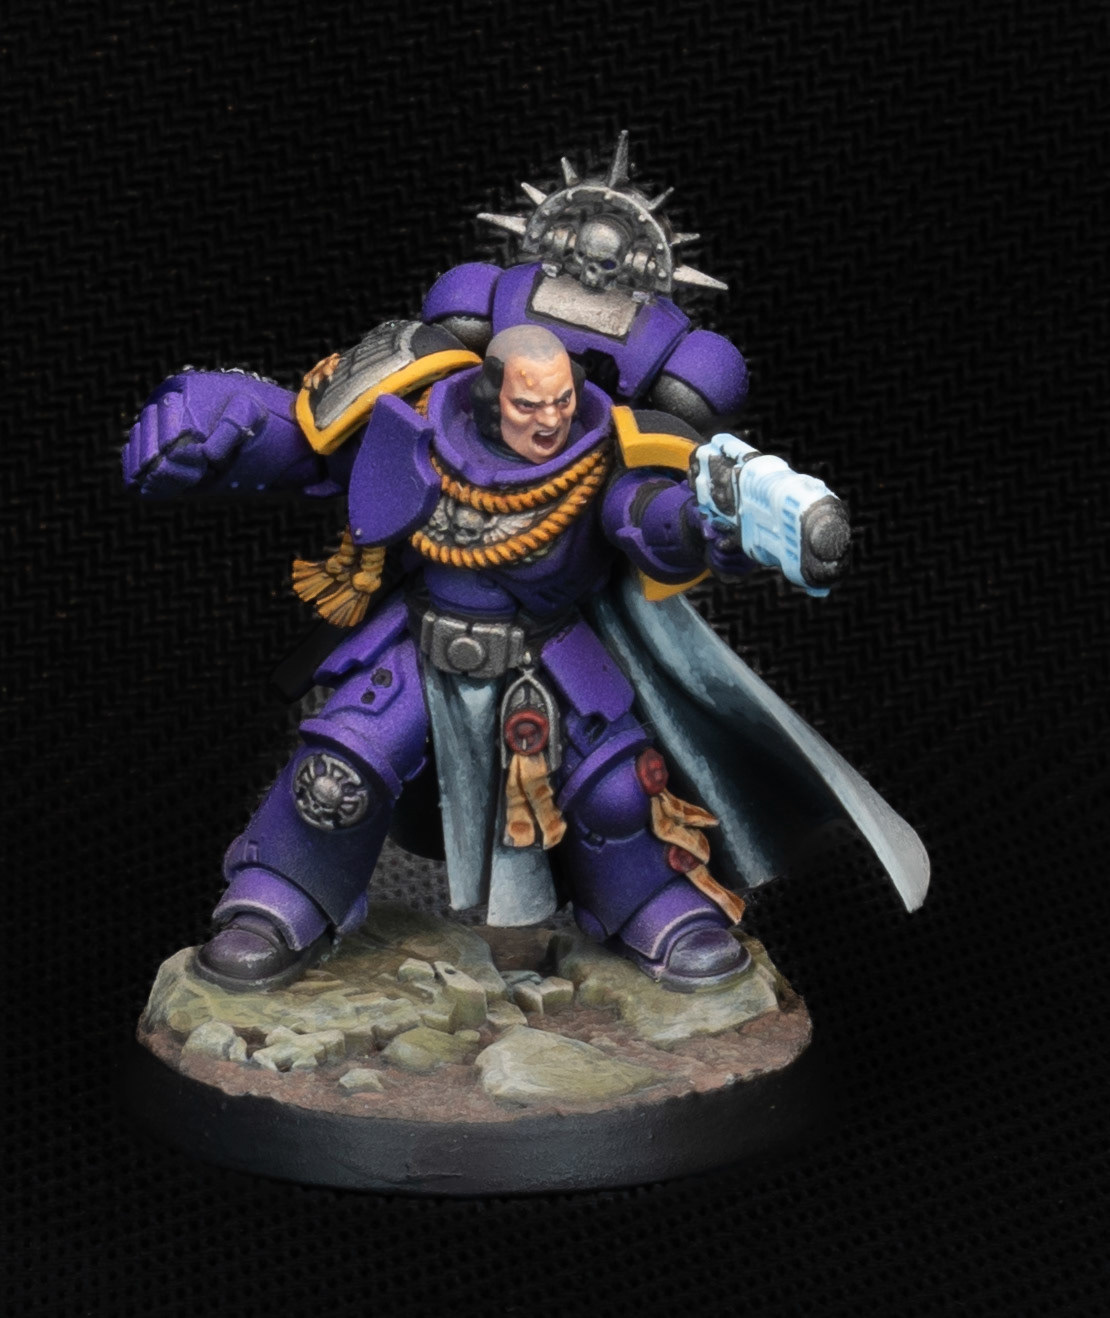
AoD is a six-man elite Space Marine team. Each model has 3 APL, between 14–18 wounds, a 3+ save, access to consistent melee and shooting threats, limited re-rolls, and the ability to counteract Conceal orders.
AoD was effectively the template used to establish the baseline statistics for many Marine teams. As a result, moving to or from another Marine team is relatively effortless. The fundamentals of how the team operates will feel familiar.
Their Astartes rule allows them to fight twice or shoot twice, with one of those attacks needing to be made with a bolt weapon. While this is more restrictive than the equivalent rules available to some other Marine teams, it synergizes extremely well with AoD’s overall identity.
Beyond their baseline statistics and Astartes rule, AoD's greatest source of diversity—and arguably its greatest strength—is its Chapter Tactics faction rule.
Chapter Tactics
So, what exactly is the Chapter Tactics faction rule, and why is there so much noise surrounding it?
Before the start of the game, you select a primary and secondary Chapter Tactic from a list of eight. Critically, in a tournament setting, you select your Chapter Tactics at the start of the event, and that selection is locked in for the remainder of the event.
So what’s the big deal?
Your Chapter Tactics establish how you are going to play AoD over the course of the event. They influence your game plan, roster selection, equipment choices, and how you approach different matchups.
The great part is that different players can approach the same Chapter Tactic in completely different ways. Your AoD may play very differently from another player's AoD even if you are using the same tactic combination. This guide is meant to help you identify different styles of play. There isn’t necessarily a wrong answer. It comes down to how you like to play and what has led you to success in the past.
Don't listen too closely to the talking heads—or even your locals. They’re probably full of crap on this one. Find your groove and play the hell out of it.
One important piece of flexibility AoD has is Adaptive Tactics. This Strategic Ploy allows you to change your secondary Chapter Tactic to another non-selected tactic for that Turning Point. That means your initial selection is important, but you aren't completely locked into playing the same style every Turning Point.
Chapter Tactics Breakdown
Aggressive
Effect: Gain Rending on melee weapons.
Pros: A fantastic way to make your melee attacks more threatening. A five-damage chainsword and a seven-damage power fist are nothing to ignore when they can threaten Rending.
Cons: The team has extremely limited access to Lethal Hits, so you aren't getting the same reliability you might see from other melee-focused teams.
Style: Aggressive works best with a heavy melee build featuring three to four Assault Intercessors, the Assault Intercessor Grenadier, and the Captain. The goal is simple: get into combat and apply overwhelming force.
Good Pairings: Mobile, Resolute, Dueler
Dueler
Effect: Normal saves can block critical hits in combat. Brutal still applies.
Pros: Blocking critical hits in melee is always valuable, particularly for a team that wants to survive combat and counterattack.
Cons: Brutal weapons still present a problem, and there are situations where you simply won't have enough opportunities to take advantage of the rule.
Style: Dueler works well for a melee-focused build that wants to take charges, survive combat, and then fall back and shoot.
Good Pairings: Mobile
Resolute
Effect: Ignore APL effects and the Shock weapon rule.
Pros: Being immune to Stun effects across the entire team is fantastic. Keeping your Marines at 3 APL can be incredibly powerful. Ignoring Shock is also extremely valuable against a number of melee specialists and melee-focused teams.
Cons: If your opponent doesn't have meaningful APL manipulation or Shock weapons, this tactic can feel like a wasted Chapter Tactic.
Style: Resolute is one of the strongest all-comers options. Its effect is consistently useful and can even influence your opponent's decisions when selecting operatives and equipment.
Good Pairings: Hardy, Sharpshooter, Mobile
Stealthy
Effect: Provides additional protection through cover saves or allows you to retain a critical save.
Pros: It provides a consistent benefit to your Marines.
Cons: Ignoring cover or closing the distance can significantly reduce the effectiveness of the tactic.
Style: Stealthy works particularly well with a shooting-heavy team that wants to play a close game around its deployment zone. It can work well with a strategy focused on Kill and potentially Dominate.
Good Pairings: Sharpshooter, Resolute, Siege Specialist
Mobile
Effect: Fall Back for one less AP or perform a Charge while within Control Range.
Pros: Mobile allows for an extremely asymmetric playstyle. Being able to fall back and shoot—even with P1 weapons—can be devastating. Likewise, being able to transition from one combat to another can create a "ping-pong" effect that lets you reach valuable support models.
Cons: If the shooting attack or melee engagement fails, you can end up with Marines badly out of position and vulnerable to a counterattack.
Style: Mobile rewards players who are comfortable constantly evaluating both shooting and melee engagements. Tools such as ignoring Injured and Combat Doctor re-rolls can help ensure that you stick the landing when committing to an aggressive play.
Good Pairings: Hardy, Resolute, Aggressive, Dueler
Hardy
Effect: Gain a 5+ critical save against shooting.
Pros: It provides defensive support across the entire team and is useful into virtually every matchup.
Cons: It doesn't provide any additional support in melee.
Style: Hardy works with almost every other style and Chapter Tactic. It is one of the safest choices if you want a broadly useful defensive benefit.
Good Pairings: Almost everything.
Sharpshooter
Effect: If the model remains stationary or moves up to a Dash, its bolt weapons gain Accurate 1 and Severe.
Pros: This effectively turns your bolt weapons into much more threatening shooting attacks and can create reliable Piercing-style pressure.
Cons: You sacrifice mobility to get the maximum benefit, meaning you need to plan your engagement ranges and combat sequencing carefully.
Style: Sharpshooter excels in a slow, control-based playstyle. Stay around your midline, establish firing lanes, and contain your opponent rather than aggressively pushing across the board.
Good Pairings: Hardy, Resolute
Siege Specialist
Effect: Ranged weapons gain Saturate, and enemy models cannot provide combat support.
Pros: It makes AoD's already strong shooting even more reliable and removes some of the defensive tools your opponent can use to protect their models.
Cons: If your opponent successfully closes the gap and forces you into melee, the tactic becomes much less useful.
Style: Siege Specialist works well with a slow, control-based playstyle. Stay around your midline, establish firing lanes, and contain your opponent.
Good Pairings: Sharpshooter, Hardy, Resolute, Stealthy
So, What Should You Play? At this point, you may be asking yourself: "So, Will, what the hell do I play?"
As I said before, your combination is your own. It comes down to your preferred style of play. That said, here are a couple of starting combinations worth trying, along with the models I recommend.
Shooting Build: Hardy / Sharpshooter
Roster
Captain
Eliminator
Heavy Gunner
Assault Intercessor Grenadier
Two Assault Intercessors
Equipment
Purity Seals
Tilting Shields
Two Smoke
Auspex Scan
Game Plan
Move your Intercessors toward the midline to create opportunities to take charges while your heavier guns establish firing lanes. Use your shooting to steadily remove enemy models while maintaining a defensive posture.
The goal isn't to rush. Instead, use your firing lanes and choke points to secure steady kills while forcing your opponent to take unfavorable engagements.
Melee Build: Mobile / Resolute
Roster
Captain
Intercessor Grenadier with Bolt Rifle
Assault Intercessor Grenadier
Three Assault Intercessors
Equipment
Purity Seals
Tilting Shields
Two Smoke
Auspex Scan
Game Plan
Play aggressively during Turning Points 1 and 2, pushing into your opponent's half of the board and controlling the momentum of the game.
Your goal is to create a constant series of asymmetric threats. Force your opponent to respond to your Marines while using Mobile and Resolute to ensure your operatives can continue functioning even when the board becomes chaotic.
Don't feel like you have to stick to these combinations, though. Experiment.
Game Setup
At this point, you should have a robust roster of models, a good understanding of your preferred Chapter Tactics, and a plan for how you want to approach the event.
Now it's time to actually play the tournament.
When evaluating the game state, including operatives, equipment, and Tac Ops, I like to keep a few questions in mind.
Shooting
- Can I shoot the Eliminator effectively?
- Is my Heavy Gunner going to be able to move and shoot effectively with its 8" Movement?
- Is this going to become a melee scrum or a shooting battle?
When answering those questions, I think about my core block of heavy shooters: the Eliminator, Heavy Gunner, and Intercessor Grenadier.
Which of these models will be most effective on this particular board?
This is something that takes practice to understand. The "best" deployment for these three models will change from game to game.
Equipment
Ask yourself:
- Do I need Tilting Shields?
- Do I need Barricades and Ladders?
- Do I need Smoke grenades?
- Can I get away with not taking Auspex Scan?
Don't automatically select the same equipment every game. Look at the board and the opposing team first.
Tac Ops
Ask yourself:
- Is there a good Banner location?
- Do I need to play for Dominate?
At the moment, those two choices create very different game plans. Both can be effective, but they push you toward different styles of play.
Deployment
I will almost always deploy my two Assault Intercessors first, followed by the Assault Intercessor Grenadier and Captain. My shooting operatives are then deployed based on the best available firing positions.
I like to establish a 3–3 split when the board allows for it. This lets one Marine move forward and take the initial pressure while one of the other two Marines provides a counter-shot. The third model can then move into position to take over the role of the first.
The exact setup will always depend on the board. The important thing is that your Marines should support one another rather than operating as six independent models.
Game Plan
This section will be short because your game plan depends heavily on the Chapter Tactics and roster you are currently playing.
Ultimately, AoD has two major Tac Op approaches: Dominate and Plant Banner.
Which one you choose should be informed by the style you're playing. A Mobile melee build is going to approach these objectives very differently from a Sharpshooter shooting build.
What matters most is that you develop your plan through practice.
Learning the key windows for changing your combat doctrine, using Adaptive Tactics, committing to Tilting Shields, or making an aggressive push doesn't come from reading a long-form article.
It comes from playing games. So get out there and play. And then play a lot more.
Final Thoughts
I started playing AoD three months before the World Team Championship. During that time, I played approximately 120 games in 13 weeks with the team.
That included everything from one of the largest events in Kill Team history to local practice nights at my tiny store in Scarborough, Maine.
Throughout that entire journey, I always felt like AoD had a tool for almost every problem. Sometimes that tool wasn't perfect. Sometimes it wasn't enough. But it was usually there. And I think that's the real value of playing AoD. The challenge isn't necessarily figuring out what tools you have. It's figuring out when to use them. From Tilting Shields to Adaptive Tactics, AoD gives you ways to respond to threats and challenges throughout the game. AoD is an extremely forgiving and durable team. Its stats, rules, and Chapter Tactics allow it to survive some of the best melee and shooting attacks in the game and then counterattack.
But that strength is also its biggest weakness.
A well-practiced game plan will lead to success, but experimentation can become limited once you have settled into your preferred style. AoD rewards strong fundamentals almost to a fault. And that's not necessarily a bad thing. If you put in the work, AoD will reward you—whether that's with a win at your local league, a successful tournament run, or even a major event.
So build the Marines you want. Find the Chapter Tactics that fit your style. Learn your matchups. Play a ridiculous number of games. And most importantly, have fun. That's what makes AoD worth playing.